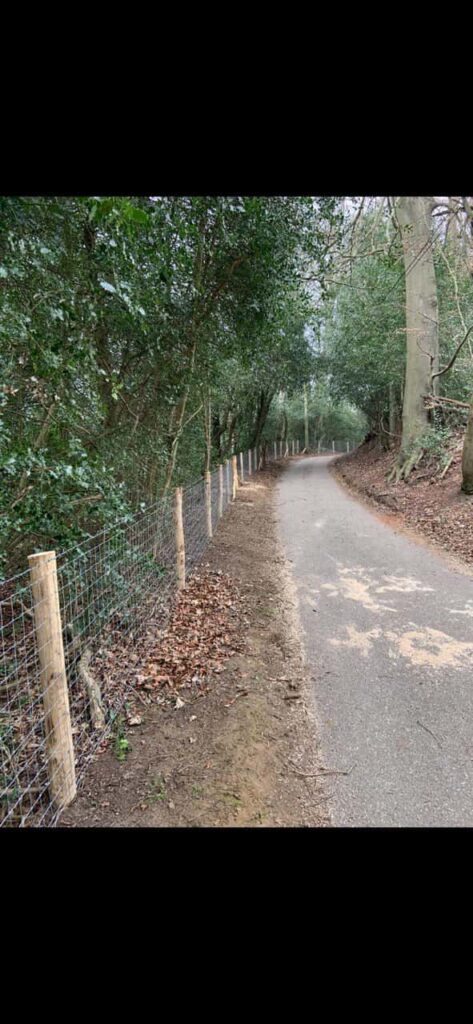
How to Install Wood Fence Panels on Uneven Ground
Introduction: Installing a wood fence can be a rewarding DIY project that enhances your property’s aesthetics, privacy, and security. However, uneven ground can present a challenge when installing fence panels. Fortunately, you can successfully install wood fence panels on uneven terrain with the right techniques and tools. This blog post will guide you through the process to ensure a level and sturdy fence that complements your landscape.
1. Gather Your Tools and Materials
Before you start, make sure you have the following tools and materials ready:
- Wood fence panels
- Fence posts
- Post hole digger or auger
- Gravel or crushed stone
- Level
- String line
- Measuring tape
- Wooden stakes
- Brackets and screws (if necessary)
- Concrete (optional)
- Post caps
2. Plan Your Fence Line
Begin by planning your fence line and marking the intended locations of your fence posts. Use wooden stakes and string lines to establish the desired fence line and to ensure it is straight and level. If your ground is uneven, note the height variations along the fence line.
3. Dig the Post Holes
Using a post hole digger or auger, dig holes for your fence posts at regular intervals along the string line. The depth of the holes should be equal for each post and extend below the frost line in your region to prevent frost heaving. Some holes may need to be deeper than others in areas with significant slope variations.
4. Install the Fence Posts
Place your fence posts in the prepared holes, ensuring they are plumb (vertically straight) and level. Add gravel or crushed stone to the bottom of each hole for drainage and stability. You may need to adjust the depth of the posts to account for the uneven ground, ensuring they are all at the desired height above the ground.
5. Secure the Posts
Once your fence posts are in position, use concrete to secure them if necessary. Pour concrete into the holes around the posts, ensuring they remain plumb and level while the concrete sets. Allow the concrete to cure according to the manufacturer’s instructions.
6. Install the Fence Panels
With your fence posts securely in place, it’s time to attach the wood fence panels. Depending on the slope of the ground, you may need to trim the bottoms of the fence panels to follow the contour of the uneven terrain. Use a measuring tape to determine the appropriate height for each panel, then trim them accordingly.
7. Use Brackets if Needed
In cases where the slope is significant, you may need to use fence brackets and screws to attach the panels to the posts. These brackets allow horizontal alignment of the panels while maintaining a straight and level appearance.
8. Check for Level and Plumb
Throughout the installation, frequently check the panels with a level to ensure they are both plumb (vertically straight) and level. Adjust the panels and brackets to maintain a consistent and aesthetically pleasing fence line.
9. Finish with Post Caps
To complete your wood fence installation, consider adding decorative post caps to the top of each fence post. Post caps provide a polished look and protect the posts from moisture, extending their lifespan.
10. Regular Maintenance
Lastly, inspect and maintain your wood fence regularly to ensure its longevity. Stain or seal the wood to protect it from the elements and perform any necessary repairs promptly.
Conclusion: Installing wood fence panels on uneven ground may require extra effort, but with careful planning and attention to detail, you can achieve a sturdy and visually pleasing fence. If you’re unsure about tackling this project on your own or encounter challenges along the way, don’t hesitate to seek professional help.
Call us on: 01892 352 697
Click here to find out more about Fast Fix Fencing Crowborough
Click here to complete our contact form and see how we can help with your fencing needs.